Apple’s latest desktop operating system, macOS Ventura, features a redesigned settings menu. Here’s how to quickly navigate the all-new menu.
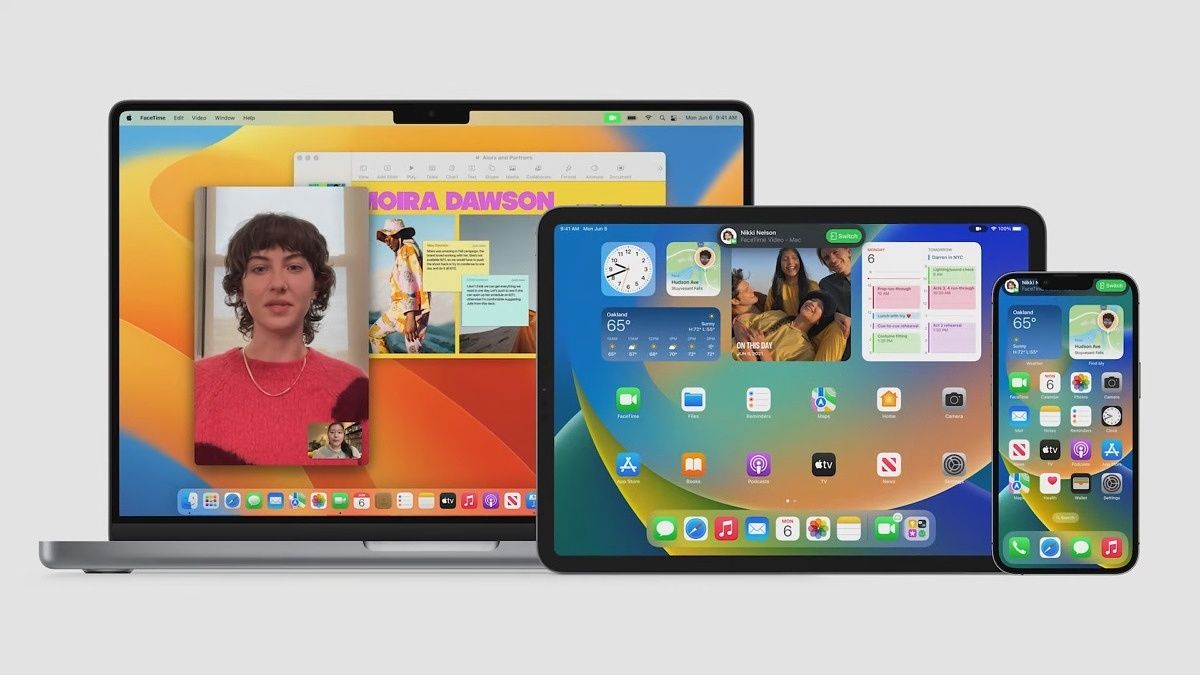
macOS Ventura is a relatively minor upgrade to Apple’s desktop operating system, but it brings a new System Settings menu that will take some getting used to, even for seasoned Mac users. At this point, macOS has evolved into a solid desktop operating system, so there’s only marginal room for improvement. The most impressive feature of macOS Ventura seems to be the Continuity Camera, which allows users to use their iPhone’s camera as a webcam. However, not all users will use this feature. But at some point, every macOS user will need to access the System Settings menu to make changes, so knowing how to navigate the new menu is key.
As the operating system evolved, many changes were made to macOS. Ever since Apple brought its own silicon to the Mac in 2020, a shift has begun that could define the platform over the next decade. The company pivoted to make the Mac more like its mobile devices, and that was reflected in the software. Apple has added a Control Center to the Mac menu bar, a staple of iOS. It added features like battery health and iOS app support. Before this change began, the original System Preferences menu had essentially remained the same for over a decade. Now that has changed with the introduction of a new System Settings menu that looks both familiar and different.
At first glance, it might seem like Apple’s System Settings on macOS Ventura is just a revamped version of the old System Preferences menu. It doesn’t, because the new System Settings menu moves around, adding and removing specific settings options. For example, an advanced Network Settings feature in System Preferences allowed users to create a preferential hierarchy of their wireless networks. Users could select their preferred networks, so the Mac would join the correct one when multiple networks were in range. On macOS Ventura, this feature has been removed. Although many settings are the same on macOS Ventura, users may experience issues with settings moving or disappearing altogether on the latest software.
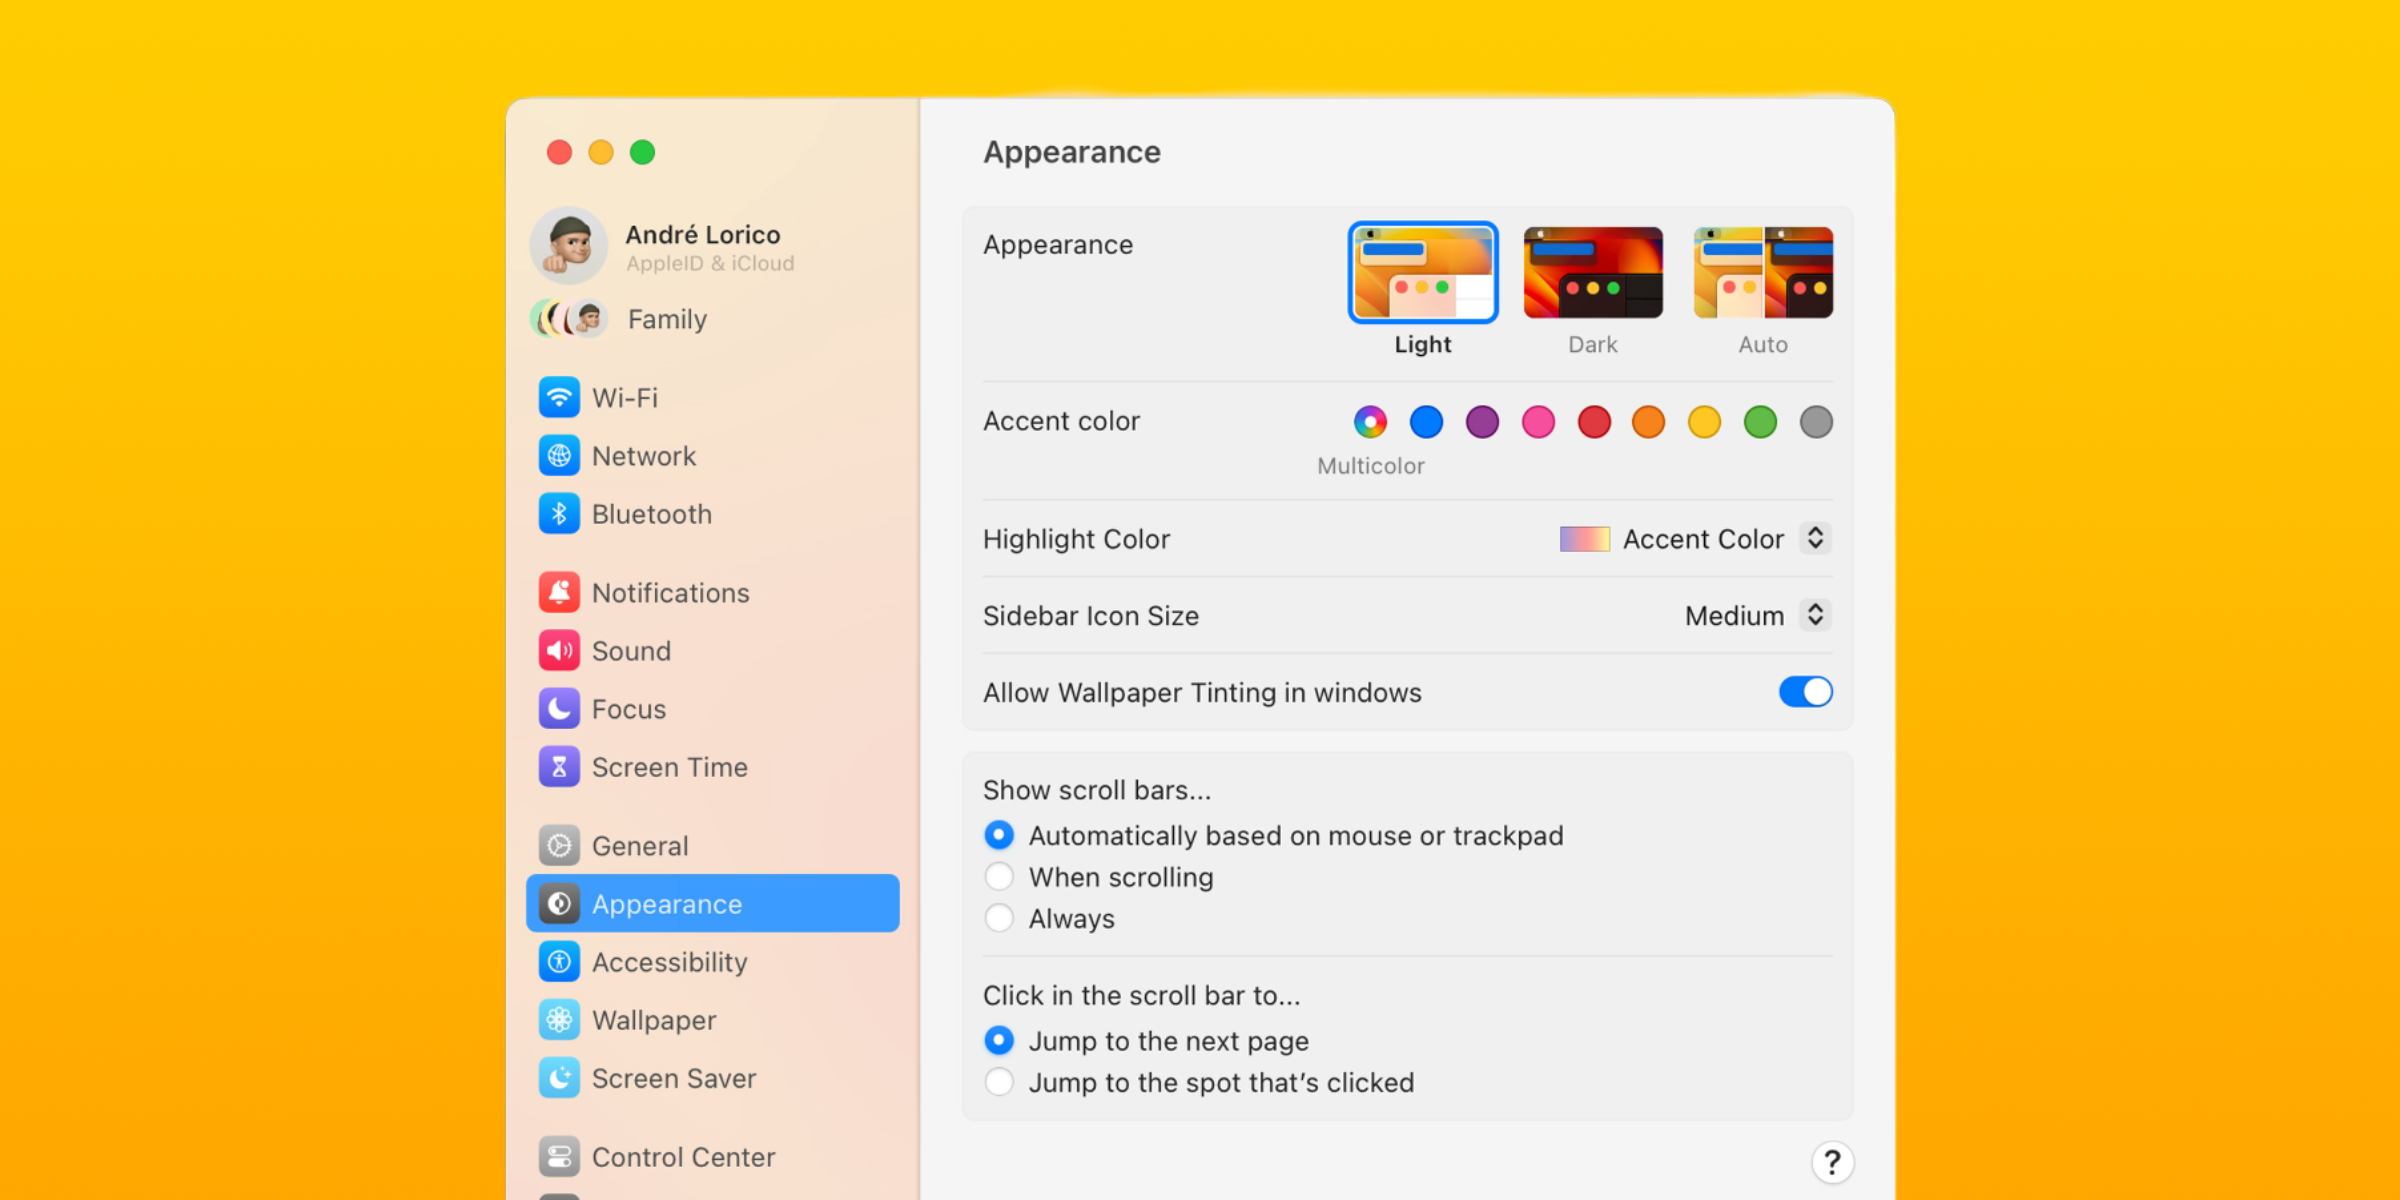
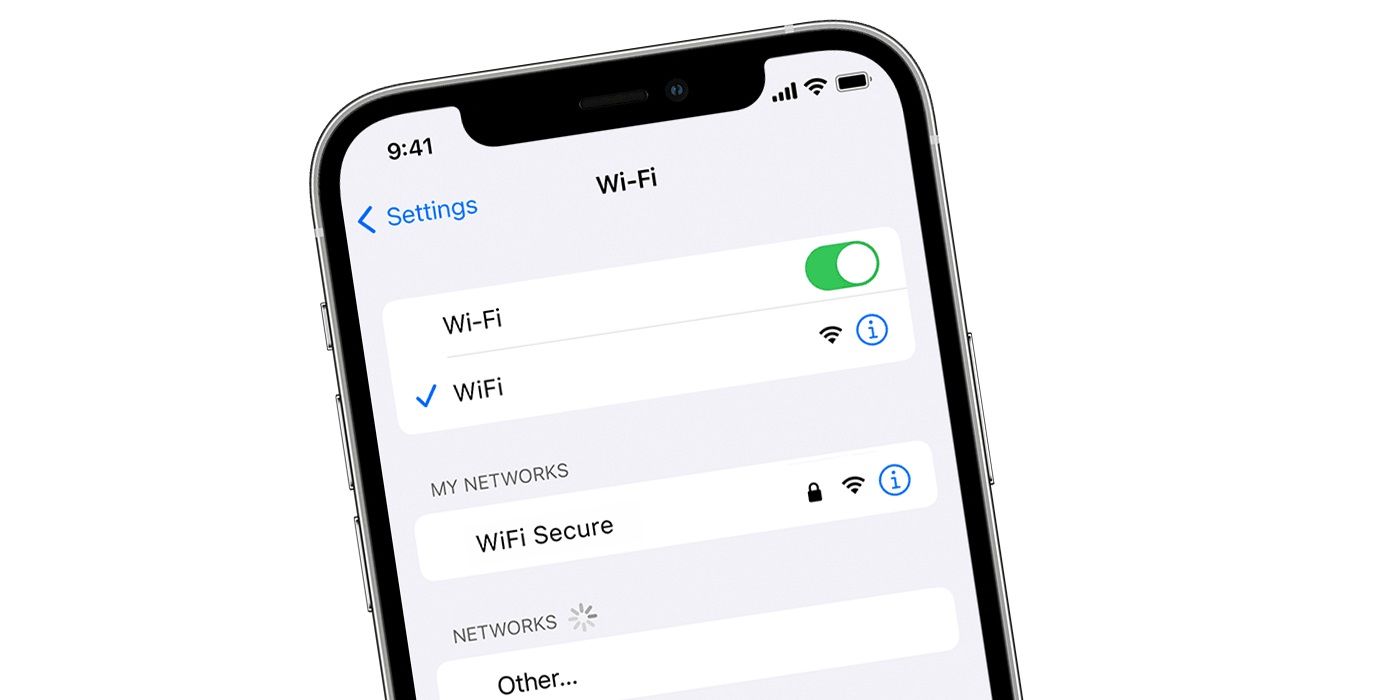
The System Settings menu on macOS Ventura visually resembles the settings menu found on iOS devices. It’s an exciting move, as Mac screens don’t usually show vertical applications very well. Therefore, when a user opens the System Settings menu – found by clicking Apple > System Settings in the menu bar – they will encounter an eerily familiar menu. All the different settings tabs are in a sidebar on the left, which looks like the main iOS settings menu screen. Users can scroll down the sidebar to find the section they are looking for and click on it to see related settings.
The best way to navigate System Settings on macOS Ventura is to use the search bar at the top of the Settings window. Just type a few keywords in the search bar and all related settings options will appear. This is essential because the organization of the System Settings menu is not suitable for the Mac. It can be difficult to find settings due to the vertical aspect ratio of the window – which cannot be resized horizontally – and important settings are buried under less important settings. Namely, the Printers & Scanners tab is last on the list of tabs, below tabs like Game Center and Screen Time. System Settings Enabled macOS Ventura appears faulty on launch, but users can quickly find the settings they need by using the search function.
Source: Apple Support
#Navigate #System #Settings #macOS #Ventura


